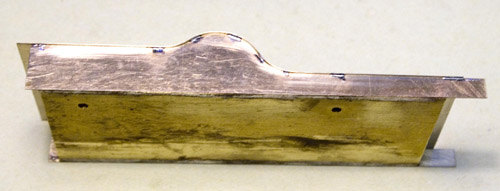
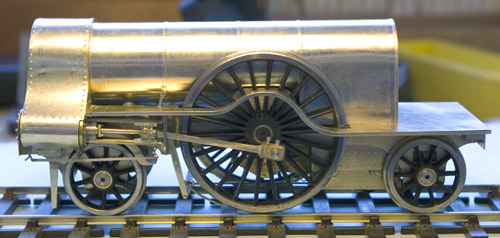
The footplate is a bit tricky because of the reverse curves over the driving axle. I cut the footplate angles to the correct profile but much deeper, and soldered them to a temporary baseplate to hold them the correct distance apart. The footplate was then cut to the correct width, a bit over length, and formed to shape using my rolling bars and various other round bars. The photo shows it tacked into place to check everything is correct before completing the soldering.
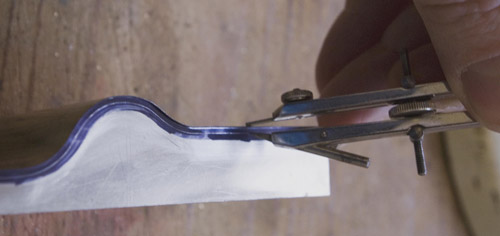
The correct width of the angle was then scribed. To do this I use a pair of compasses with screw adjust, with the lead replaced by a rod to act as a guide, and the pin replaced with a hardened pin to do the scribing. It turns out to be a very useful tool. As much cutting as possible was done with the piercing saw, but the curved bit in the centre had to be done by chain drilling - what a lot of holes! - followed by grinding with a wee bit in the Dremel. Then the footplate was cut away between the frames (where it shows) and around the driving wheels and motor for clearance.
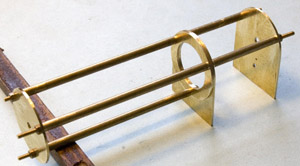
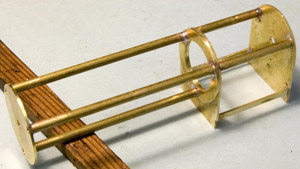
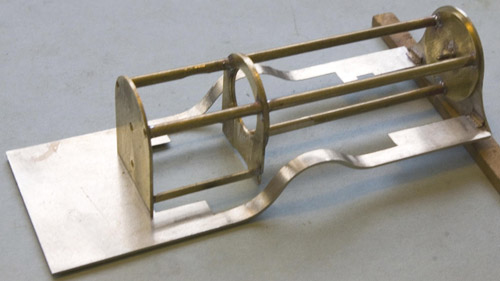
The boiler and smokebox are made as a wrapper over a skeleton. Here are the parts of the skeleton, then all nutted up to make sure everything is square before soldering it up.
Then a trial assembly with the footplate. At last you can see how the removable rear plate of the smokebox comes into play. The footplate is soldered to it and the boiler is bolted to it (and the firebox will eventually be soldered to the footplate) so that it all comes away in one.
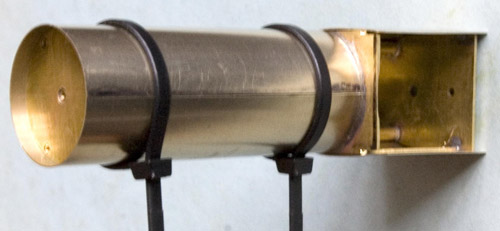
The wrapper was cut out and rolled, then cut part way at the boiler-firebox join, and the firebox part was unrolled to form the sides of the firebox. The photo shows it after soldering up. I used a couple of cable ties to help hold it in place until it was soldered. It was intentionally over-length, and after soldering I cut and filed it back nicely flush with the skeleton plates. Boiler bands were added, they are cut from brass shim about 0.13 mm thick, probably slightly overscale, but I give them a good rub down after assembly and they look okay to me. Surprisingly (or not) it is possible to cut sheet that thin with the finest piercing saw blade - you just have to support it well and angle the blade down at a very acute angle to the metal.
People have asked me about the boiler diameter, because the true scale diameter of this boiler is greater than the back-to-back dimension of O finescale wheels. This is a common problem with early locos that had the boiler set low.
Either you have to make the boiler smaller than scale or cut away the sides of the boiler and firebox behind the driving wheels for clearance. In this case there is a gap between the splasher tops and the boiler and I did not think I could conceal a cutaway, particularly when viewed from above. The boiler diameter is 28.6 mm, which leaves just enough clearance behind the driving wheels, providing they are set square on the axle and the axle has no sideplay.
That was my decision, maybe it looks wrong to you, but so be it. It is a recurring problem with these old prototypes and a narrower than scale track gauge (stop sniggering at the back, ScaleSeven!). For Liverpool and the T6 clas loco, I cut the boiler away, but in those cases I knew I could hide it completely. Clyde also has a slightly smaller boiler than it should.
A note about boiler diameters
Footplate, boiler and firebox

Nick Baines • Model Engineering


