This loco, in common with many at the time, has the front end with a wrapper over the smokebox and cylinders, complicated by an inclinded front and cylinders. (Actually, I think the smokebox wrapper was separate from the cylinder covers on this prototype, but as the man said in a very different context, you can't see the join.) The front plate and the wrapper have lines of rivets near the corner where they join. You must impress the rivets before the parts are assembled, but given the complicated 3D shape of the wrapper, the only way to get the wrapper right is to make it oversize, fit it, then file it back. So you can't rivet it then fit it, but neither can you fit it then rivet it.
It also creates assembly problems. If you can't split the smokebox from the cylinders, you can't divide the body from the chassis in the conventional way except by disconnecting the conn rods - obviously not a good idea. The smokebox and cylinders must be permanently attached to the frames. In the Ramsbottom model I used a sub-assembly technique where the boiler and firebox and each side of the footplate with splashers, etc, attached, was bolted on separately. It made assembly a bit fiddly (but you don't have to do it very often). In this case the full cab meant that that probably would not work. My solution was to make the whole of the body, with the exception of the smokebox, one unit. The front of the boiler and the front ends of the footplates on both sides are attached to a dummy rear plate of the smokebox, which fits into a recess formed by the rear edge of the smokebox wrapper. If that sounds complicated, I hope it becomes clear as we go on.
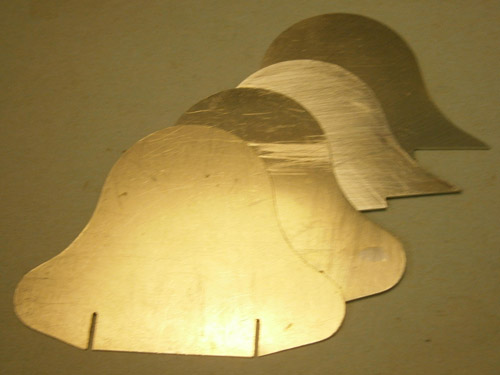
The front and back plates are double. From front to back in the photo below, they are:
• • Front plate overlay
• • Structural front plate
• • Structural rear plate attached to smokebox
• • Dummy rear plate attached to boiler and footplate
The overlay is 0.25mm nickel silver because it will be riveted, and the structural parts are 0.7mm. The cutting was done in the obvious way, by clamping together four blanks and cutting them together to ensure that the profiles are identical. The rear two stop at footplate level but the front two cover the fronts of the cylinders and valves as well as the smokebox.
Sounds like a long story? It probably is. It's the presence of the rivets makes it so much more difficult. For Mazeppa, the smokebox geometry is even more complicated, but the absence of visible rivets meant that I could make the wrapper oversize, solder it in place, and file it down without worrying about taking off the rivet detail. But when the rivets are visible, this is the best method I have yet come up with.
Smokebox and cylinders
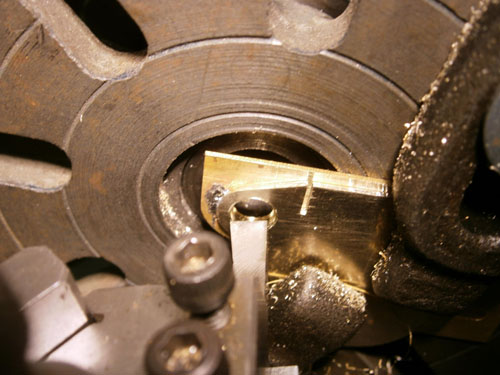
The front plates required holes for the cylinders. These were drilled and finally bored to size in the lathe. Accuracy on diameter is not hugely important here, but when making large holes in relatively thin plates, twist drills are liable to snatch at the material, and I find that finishing by boring is more reliable.
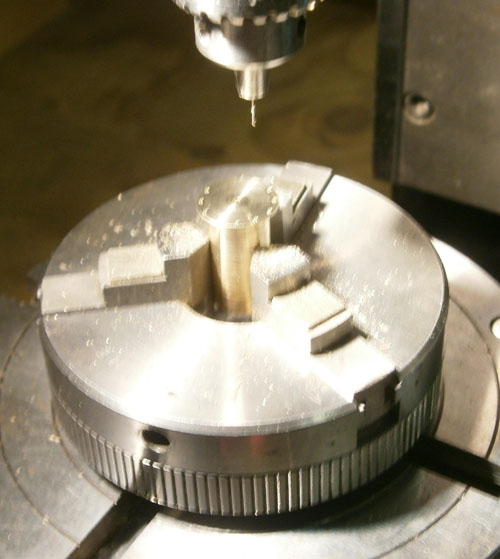
The cylinders were turned from brass, integral with the front cover. No, it isn't a live steam model, the cylinders are only there to hold the rear plate in place. The rear plate of the cylinder is separate from the rear of the smokebox, and inclined to it. The cylinder front was drilled for dummy nuts and bolts from the Scale Hardware range. I did the drilling on the rotary table to ensure that they are equispaced - few things look worse if they are not.
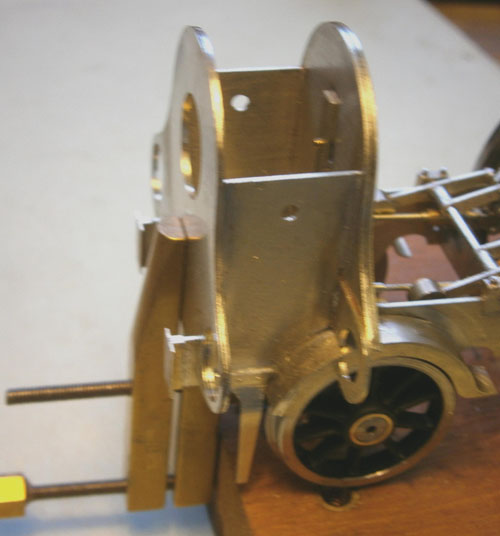
Now assembly could start. First of all, the structural front and rear plates were soldered into place on the frame extensions. I should have said earlier that the dimensions of the frame extensions were adjusted to allow for the thicknesses of these plates.
Then the front overlay and the cylinders were clamped into place, so that the cylinder rear plate can be soldered to the frame. This photograph shows what a nuisance the leading wheel splasher is. To give clearance for the wheel, it must be wider and mounted higher than the prototype, and the plate had to be cut by trial and error to clear it.
At a later stage, the wrapper also had to be cut to fit round the splashers.
Next, the front overlay and the dummy rear plate were clamped into position so that the smokebox was the correct length.
Then I cut a long strip of 0.25mm nickel silver of width slightly greater than the length of the smokebox, and using my rolling bars and an assortment of round stock, gradually formed it into the correct shape for the wrapper. I held it tightly in position with my fingers (wishing I had twice as many fingers of half the width) and ran a scriber around the inside against the edge of the smokebox, having first coated it with marking fluid to make the line easier to see. The outline of the front face that was marked out in this way is in the photograph.
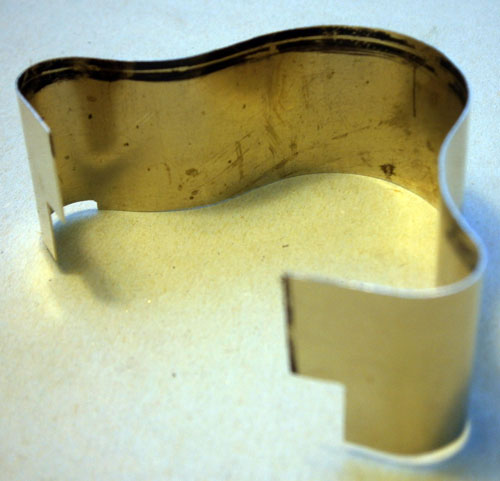
The wrapper was then cut back to somewhere near this line using a piercing saw with the finest possible blade, and the wrapper was offered up to the smokebox and tacked into position with just enough solder to hold it in place. Once that was done, I could file it back to its final shape, flush against the front and rear of the smokebox.
The wrapper was then unsoldered and rivets were impressed. Because it was now at its final size, they could be set at a constant distance from the edges, using the stop on my rivetting tool.
Once again I held the wrapper against the smokebox. I removed the dummy rear plate but not the front plate overlay. Using the latter to ensure that I had the wrapper in the correct position, I soldered it firmly to the structural rear plate. Then I removed the front overlay and soldered the wrapper firmly to the structural front plate. I made sure that the solder had properly penetrated all the joints because I then had to scrape away all of the excess solder from the corners, otherwise the overlays would not fit properly. The photos show the recesses left at front and rear.
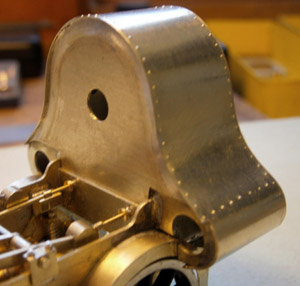
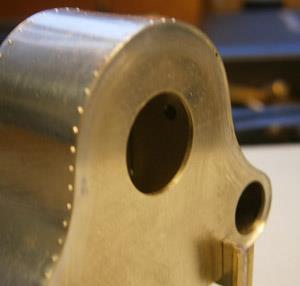
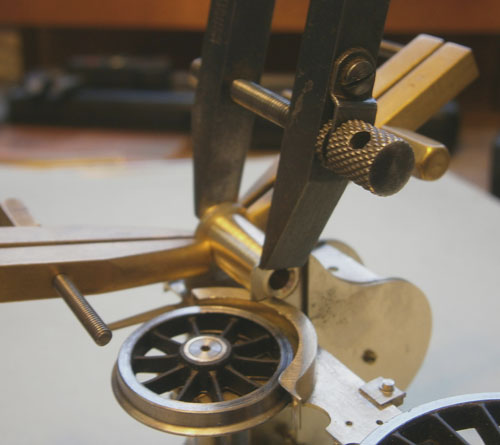
Finally, the front overlay had its rivets impressed, again using the stop to make sure they are all the same distance from the edge, and it was soldered in place - very carefully, and using a minimum of solder to make sure it didn't get all over that rivet detail.

Nick Baines • Model Engineering


