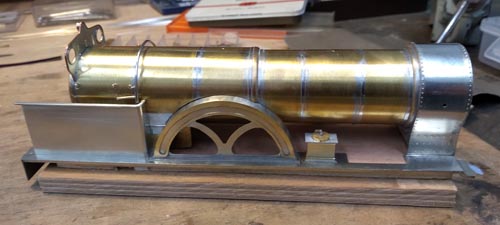
Body Details - Weatherboard, Sandboxes, Side Screens
Here are back and front views of the weatherboard. There are separate little circles of clear plastic for the glazing and frames for the rear side to hold them in place. They will be added after painting. The lower edge of the weatherboard includes a tab that fits into a slot in the top of the firebox to hold it in place.
Nick Baines • Model Engineering
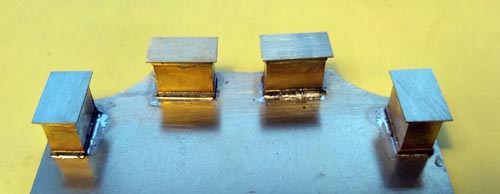
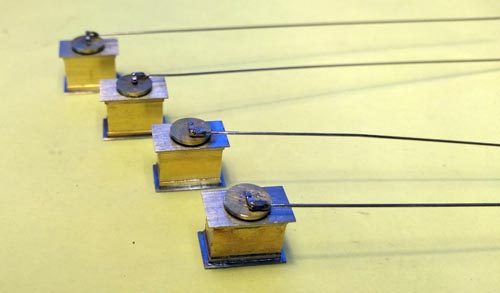
The sandboxes are made from solid. Four sandboxes were made on a stick on the mill, then parted off to leave the frames top and bottom
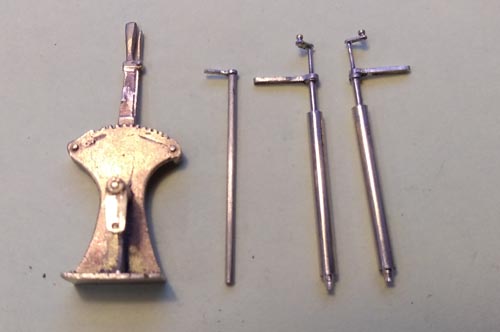
Here are some of the controls that go inside the side screen. The reverser is a Laurie Griffin casting, and the other things are scratch built injector and damper controls.
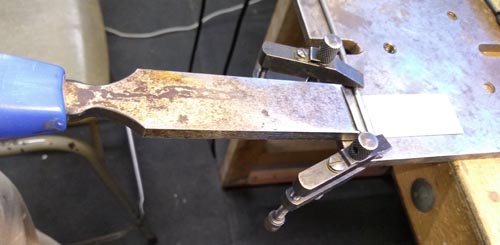
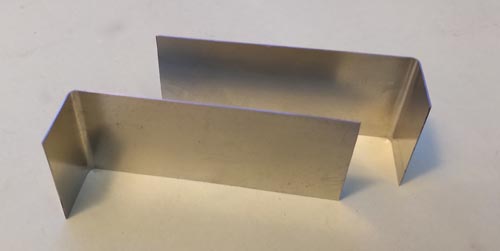
The side screens are L-shaped and provide some protection for the engine crew and the controls - the latter was probably more important than the former to the railway company. The bend is quite a small radius and was made by wrapping the material round a steel rod of the right diameter. What you see here is a wood chisel that I am using to lever the end up. It ensures a steady push right across the width of the material so there is no accidental twist.
The finished item, which is also bolted to the footplate. The other end of the sandbox rod is here. The rod goes behind the driving wheel splasher, and to make the contruction easier I have split it into two parts, which I hope is not obvious.
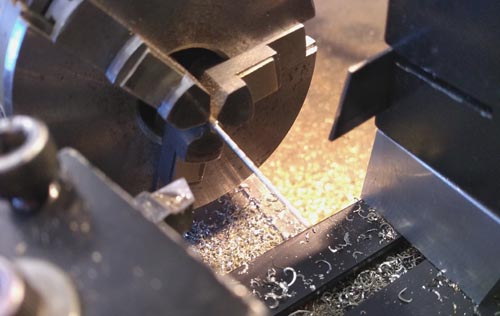
This is the handrail at the back of the side screen. It has a noticeable taper, and was turned as a series of steps of increasing diameter (moving it out of the chuck after each step). Keeping it rotating in the chuck, it was then filed smooth, holding it up against a piece of card to prevent it bending.
It is starting to look like a locomotive at last.
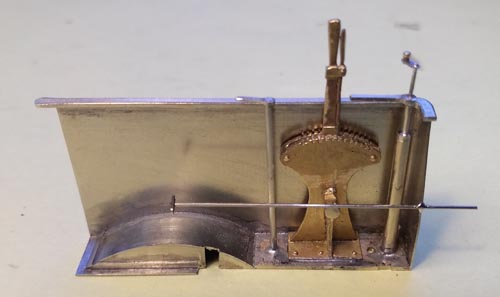
Rather than soldering the side sheets directly to the footplate, there is a separate base that is drilled for the various controls that have to be fitted. The base also includes a splasher for the trailing wheel. The splashers for the leading and trailing wheels are, of course, much smaller than the driving wheel splasher but were made in the same way, fortunately without any decoration.
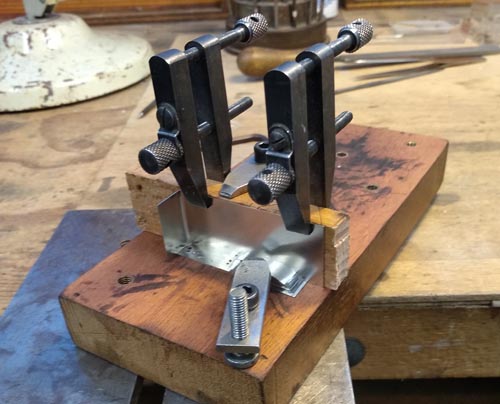
In the photo it is all set up ready for soldering.
In the photo it is all set up ready for soldering.

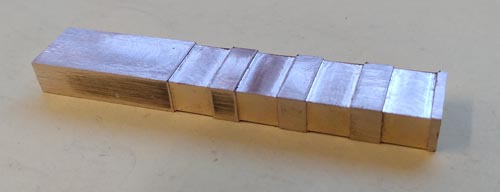
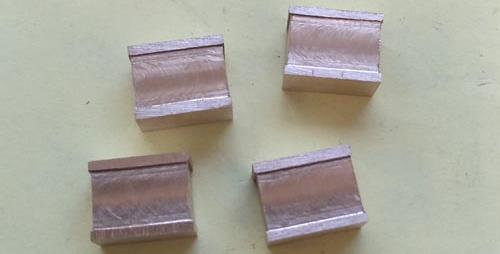
Plates were added to simulate the tops and bottoms. As usual, these were made oversize and cut back after assembly. Finally, the fillers and actuator rods were added. The sandboxes are held in place on the footplate by bolts from underneath.
