Nick Baines • Model Engineering
Kingscale 4MT no. 80135
When I embarked on the T3 project, I realised that build time would be a concern. I'm not the fastest worker and if you have been following the story so far you know that I will compromise, but not very much. Whichever way you look at it, this loco is going to take years to finish, and what was I going to do in the mean time? I'd joined the Gauge 3 society but I was in danger of spending years as a passive spectator.
The solution was a ready to run Kingscale 4MT. Cliff Barker was offering them at a very favourable price. I like the 4MT, it is a handsome loco. There was a choice of black and green liveries. I chose green which is the preservation livery (BR was black), on the basis that I had a model of a preserved loco and could realistically run almost anything behind it. Not that anyone really cared, Gauge 3 is refreshingly free from such pedants.
So, the theory was that I could learn to drive this loco and it would keep me entertained at Society garden get-togethers while the construction of the T3 proceeded. There was just one problem - it wouldn't go. I followed Cliff's instructions very carefully, but I could not get it started. In the spring and summer I took it to several get-togethers and met people who were very patient and helpful, and shared their expertise with me, but to no avail.
It still locked up under steam pressure and would not start. It was frustrating and I began to have doubts about Gauge 3 as a whole. Finally Cliff came to my rescue and discovered that it definitely would not start in full gear, but by backing off the reverser several turns (it is a screw reverser), it was finally persuaded to make several circuits. I went home that day much happier.
Our conclusion is that the valve timing is most likely wrong and full gear allows steam on the wrong side of the piston. I have not stripped it down to investigate further. The way it is assembled does not make that easy, and it would almost certainly require a full repaint.
There were a few other, more cosmetic, issues. The front footplate was misaligned with the tank on one side and needed very careful bending back. On one side the rear steps prevent the buffer retracting. The valve gear is rather obviously assembled with screws and it shows.
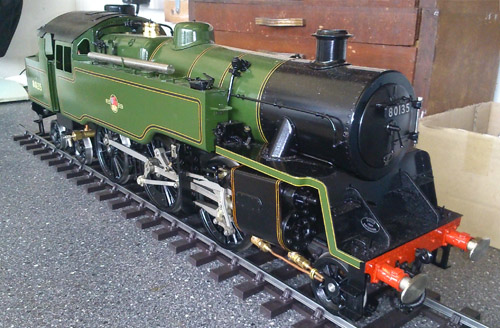
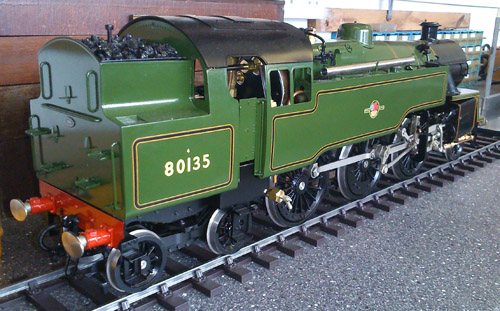
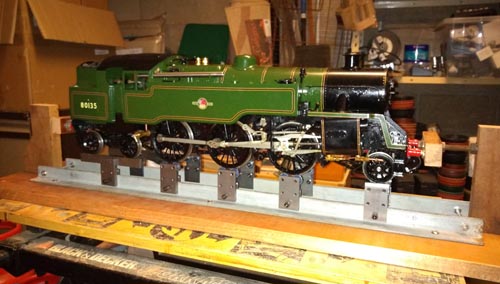
Cliff told me that it would need a lot more running in until it was properly free. By then we were at the end of the 2018 season, which left the question of what to do over the winter? I decided to build a rolling road. This was a diversion from the T3, but much quicker than building a garden railway. I consoled myself with the thought that it would probably come in useful for the T3 as well when it reached that stage. I found a couple of lengths of suitable angle in the scrap pile, ordered up a bag of ball bearings, and before very long was able to start running in the garage.
At present the driving wheels still need a push to start, but the loco is gradually running itself in. Of course it's not as much fun as running on a real track, and I'm looking forward to the 2019 season. I'm very grateful to the people who organise get-togethers and to the Gauge 3 Society members who have shared their expertise and time so willingly to help me (and the loco) to get going.
2019 update: still needs a push or two to clear the cylinders and start, but getting better. I really don't like the so-called automatic drain cocks, which don't work as they should. Manual ones would be so much better.
2020 update: no track running for obvious reason. Run it on the rolling road a couple of times.
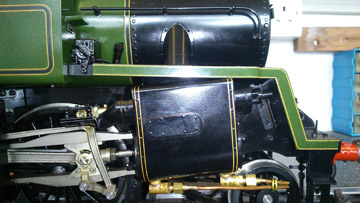
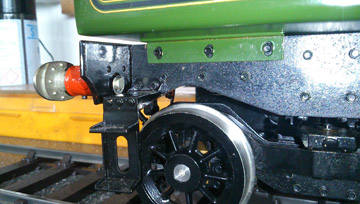
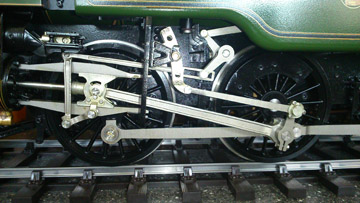
Misaligned footplate
Rear steps prevent the buffer retracting
The rods and valve gear are nicely made, but the screws holding them together spoil the effect, and the radius rod is wrong
