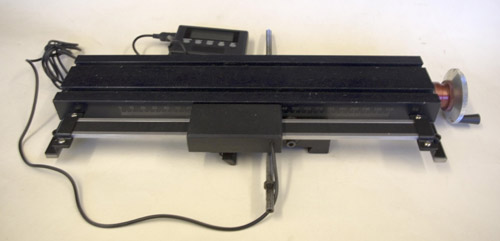
X axis
Sherline mill
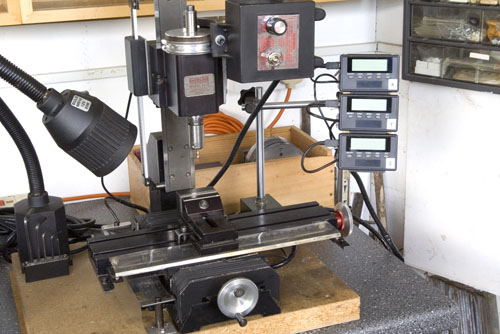
Once I had the Sherline lathe, I soon realised that if I clamped a workpiece to the cross slide, I could attack it with milling cutters and slitting saws held in the chuck, and I managed to do some rather primitive milling of small parts that way. If a fitting needed a square flange, for example, I would previously have turned it oversize and filed the four flats by hand. Now I could do them on the machine, more quickly and with better accuracy. Forked joints could be made much more accurately and consistently with a slitting saw than cutting by hand.
You can guess where this was leading. The obvious choice was a Sherline mill, particularly because it has a number of parts in common with the lathe, and many accessories fit both machines. It is just so convenient to do some turning in the lathe, move the chuck complete with workpiece to the mill to do some machining, then return to the lathe for the remaining operations. By planning the job, the workpiece stays in the chuck all the time and one never loses the centre.
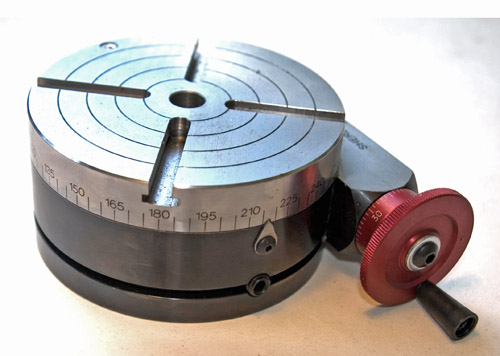
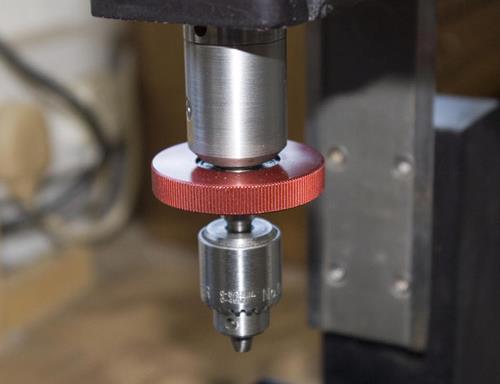
I quickly discovered what everyone else knows, that once you have a mill, you start acquiring accessories. Sherline do a very nice rotary table and a drilling attachment. The mill does not have a quill, and that is probably its biggest limitation. The drilling attachment screws into the milling head, and the red ring has a bearing so that you can grasp it while the drill rotates, and push the drill into the work that way. Obviously that only works for small drills and soft materials, but I did come to appreciate the control you can exert when drilling very small diameter holes.
I also made a dividing head, but that deserves a page to itself.
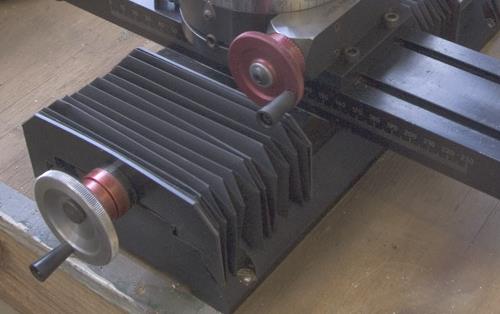
One feature of the mill that I was not happy with was that a large part of the y-axis screw is exposed, and I could see that it would pick up chips and might wear rather quickly. Hunting around for a solution, I came across an amazing piece of origami, in the form of a pattern from which a flat A4 sheet of material could be folded up into bellows to cover the y-axis. The material used was not specified, but I found that a polyester film used for the overhead transparencies that we used for presentations before PowerPoint took over the world was quite successful. I see now that Sherline have adopted the same solution, so there is no longer a need to make them yourself.
The other thing I have added to the mill is a DRO on each axis, and that has really transformed things. Sherline do a DRO kit, but it relies on rotary encoders attached to the feed screws and there is no automatic compensation for backlash, which for me was one of the motivations for using DRO. I used the low cost linear encoders that are widely available. In some parts they are scorned on as unreliable, and all I can say is that they work for me. The choice was not driven by cost, but by size. On a small machine there is not much room for the slides, and I just could not see a way to fit the available glass scales and the like. Even so, it took some head-scratching and I had to accept small reductions in travel on the x and y axes. The z-axis was the easiest to fit, the x-axis was not too difficult, but the y-axis was a real puzzler. Eventually I had to resort to attaching the scale, not to the mill itself, but on pillars next to it that are screwed to the baseboard. The slider is then attached to the y-axis carriage.
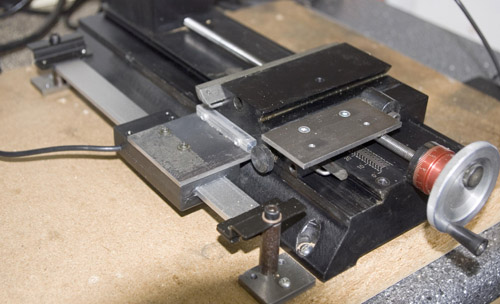
Y axis
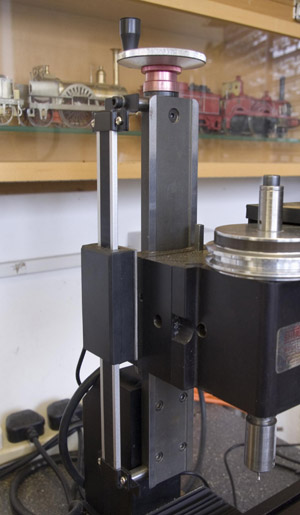
Z axis

Nick Baines • Model Engineering